Step 01 / Log In To GlobalGPT
Log In To GlobalGPT
Sign in to your account, then continue to Step 2 to find Video Editor on your Home screen.
Log In To GlobalGPTUpload local footage or choose assets you generated in GlobalGPT. Tell Yukie what to change, with your AI agent right beside the timeline.

Your editing ideas, put into action.
Upload locally or choose your GlobalGPT assets.
Describe what you want to change.
See your edit and keep refining.
Log in to GlobalGPT, find Video Editor, and follow the steps to your first edit.
Sign in to your account, then continue to Step 2 to find Video Editor on your Home screen.
Log In To GlobalGPTOn your GlobalGPT Home screen, look for Video Editor. The full screenshot you see below preserves both entrances: (1) the card at the top right and (2) the larger card below. Choose either Video Editor entry, then open or create your editing project.
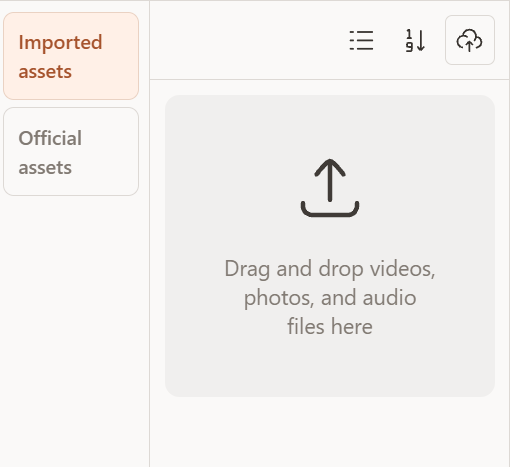
In the editor’s Assets panel, open Import. Choose Upload from device to select a video, image or audio file on your computer. Choose Choose from assets to reuse material you have already generated in GlobalGPT. Select your source clip and use its filename when you give Yukie instructions.
Use the Yukie sidebar in Video Editor. State which source clip to use, what to change and what to preserve. For trimming, distinguish source timestamps from the finished timeline. For an assembly, name the clips in playback order. The screenshot below shows an actual English assembly request.
Use my imported video. Keep source seconds 1–6, retain the original audio, and add “CITY IN MOTION” in white at the lower center for the first 2 seconds of the finished edit.
Play the edited sequence and compare it with your request. Inspect the start and end of each clip, the framing and any text layers. In this demonstrated trim, the video lasts five seconds and CITY IN MOTION appears for the first two seconds. Listen to the audio separately before exporting.
Choose Export at the top right of the editor. Review the available Format, Quality and Audio settings for your project, then start the export. Wait for it to finish and save the resulting video. Open the saved file and check playback, duration, framing and sound.
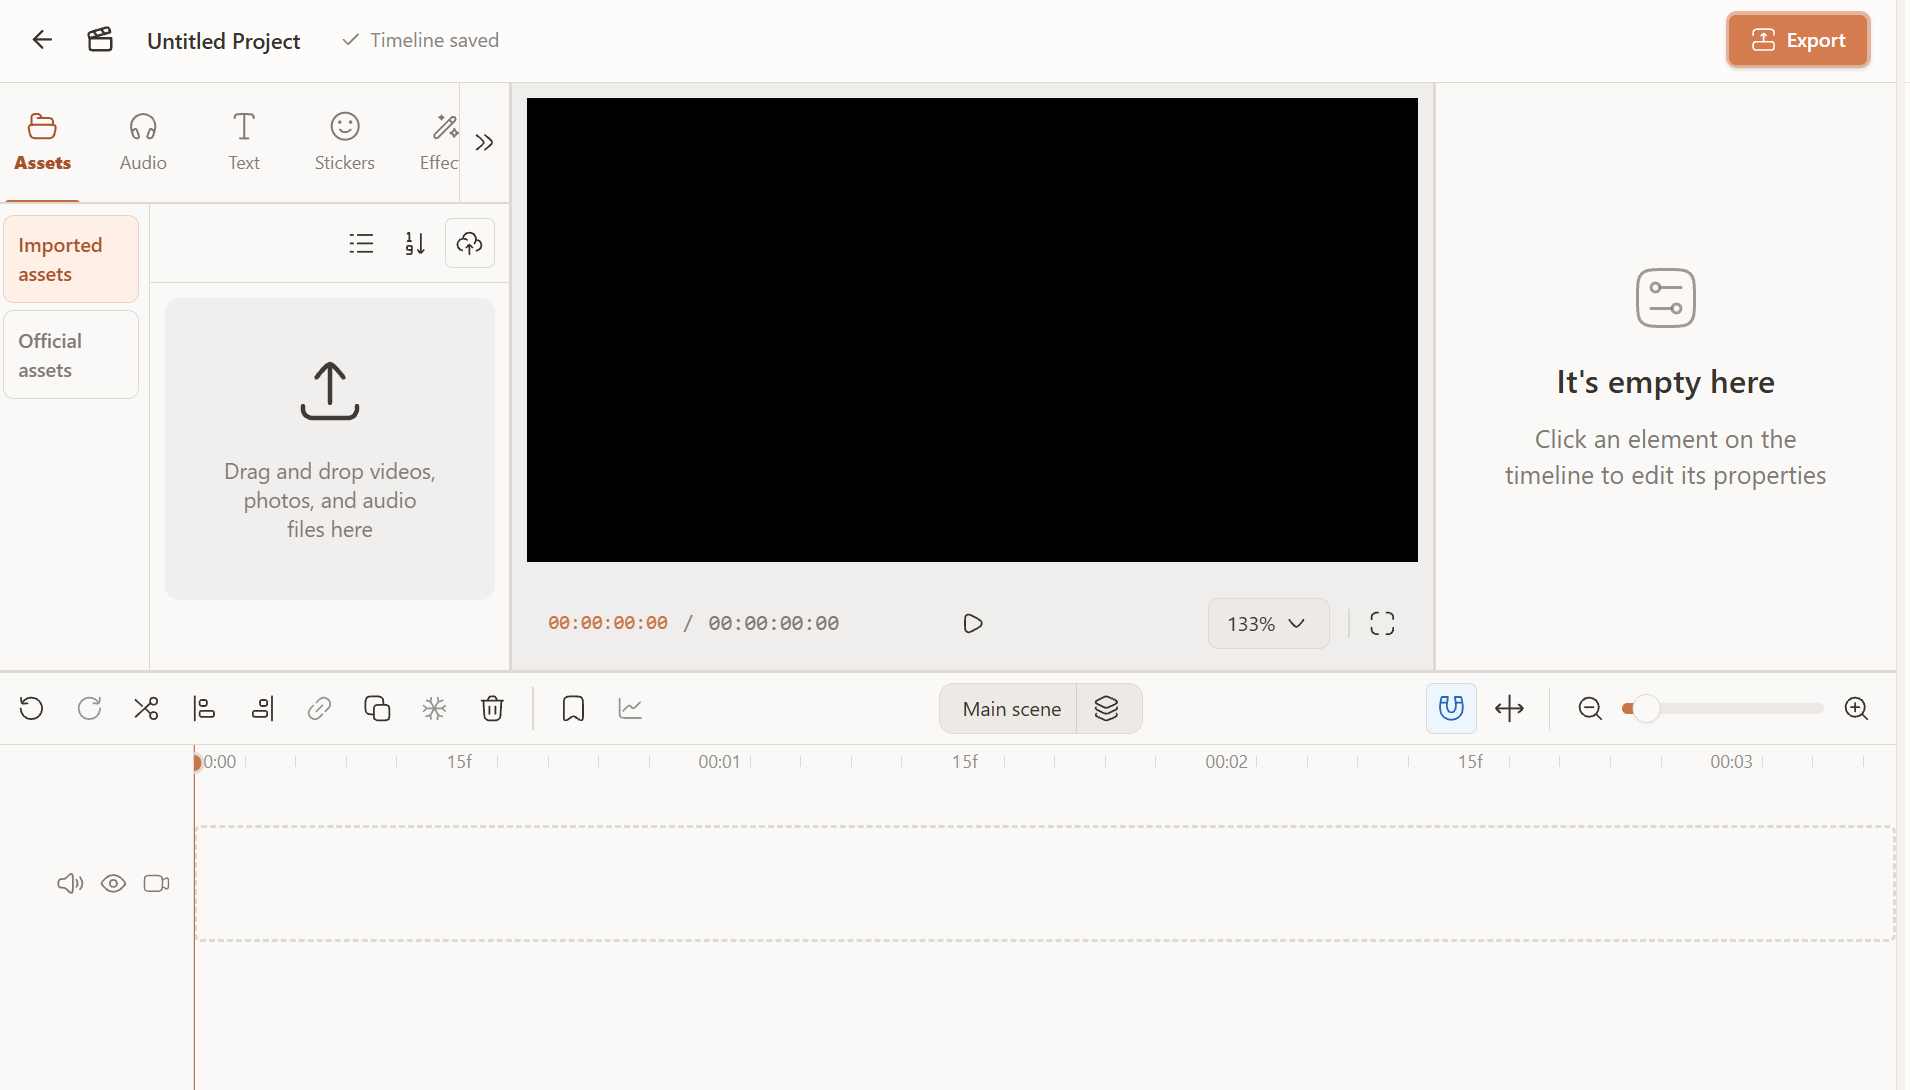
Find the button. Make your edit.
These are the actual buttons from the two toolbar views.





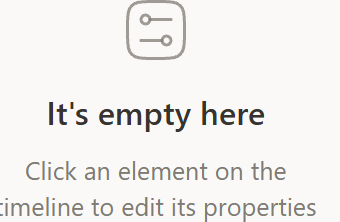
Select A Clip To Open Its Properties.



Grey controls need a suitable selection or are not yet available. The linked-chain icon is shown without assigning an unverified function.

Choose Format, Quality & Audio.
Export And Check Your Saved Video.
A timeline lets you arrange what you already have. With Yukie beside it, you can also create what comes next: generate a new shot, continue a story, make a soundtrack or tune the mood of an existing clip. Describe your idea and let Yukie connect the tools, then review the result in the editor.
Start with a first draft from GlobalGPT’s video models, or import footage you already have. Then ask Yukie to extract the last frame, use it as the next clip’s first-frame input, and bring the shots together on the timeline.
Explore Seedance 2.5 for clips up to 30 seconds, or MiniMax H3 for clips up to 15 seconds in the current GlobalGPT generator. You can also import local files or choose videos you have already generated in your GlobalGPT assets.
A short comedy made with two Seedance 2.0 generations and assembled by Yukie. The extended edit is approximately 16 seconds. The intended plate landing and eyebrow reaction were not fully realized.
Yukie extracted the completed opening clip’s final frame and supplied it through the continuation model’s first-frame input. It then placed the continuation directly after the opening. Review the join for changes in pose, framing and lighting before exporting.
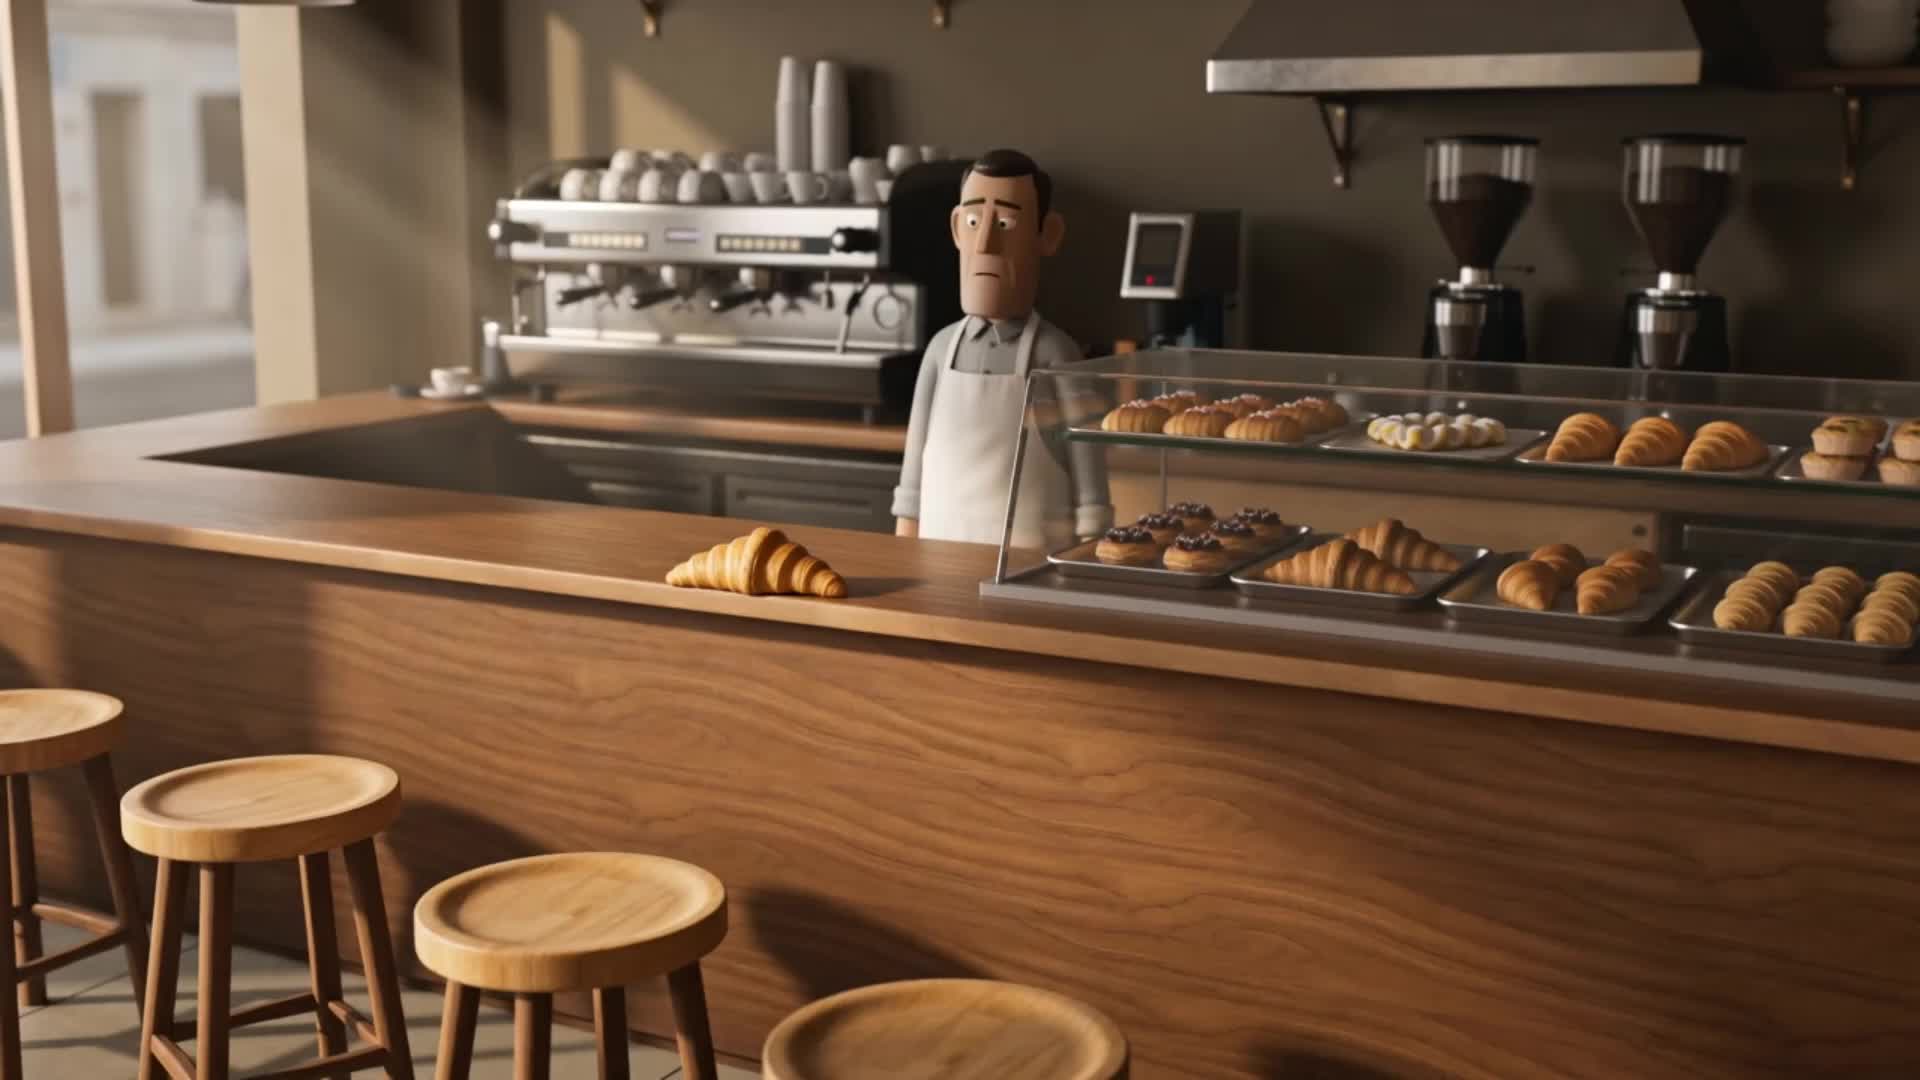
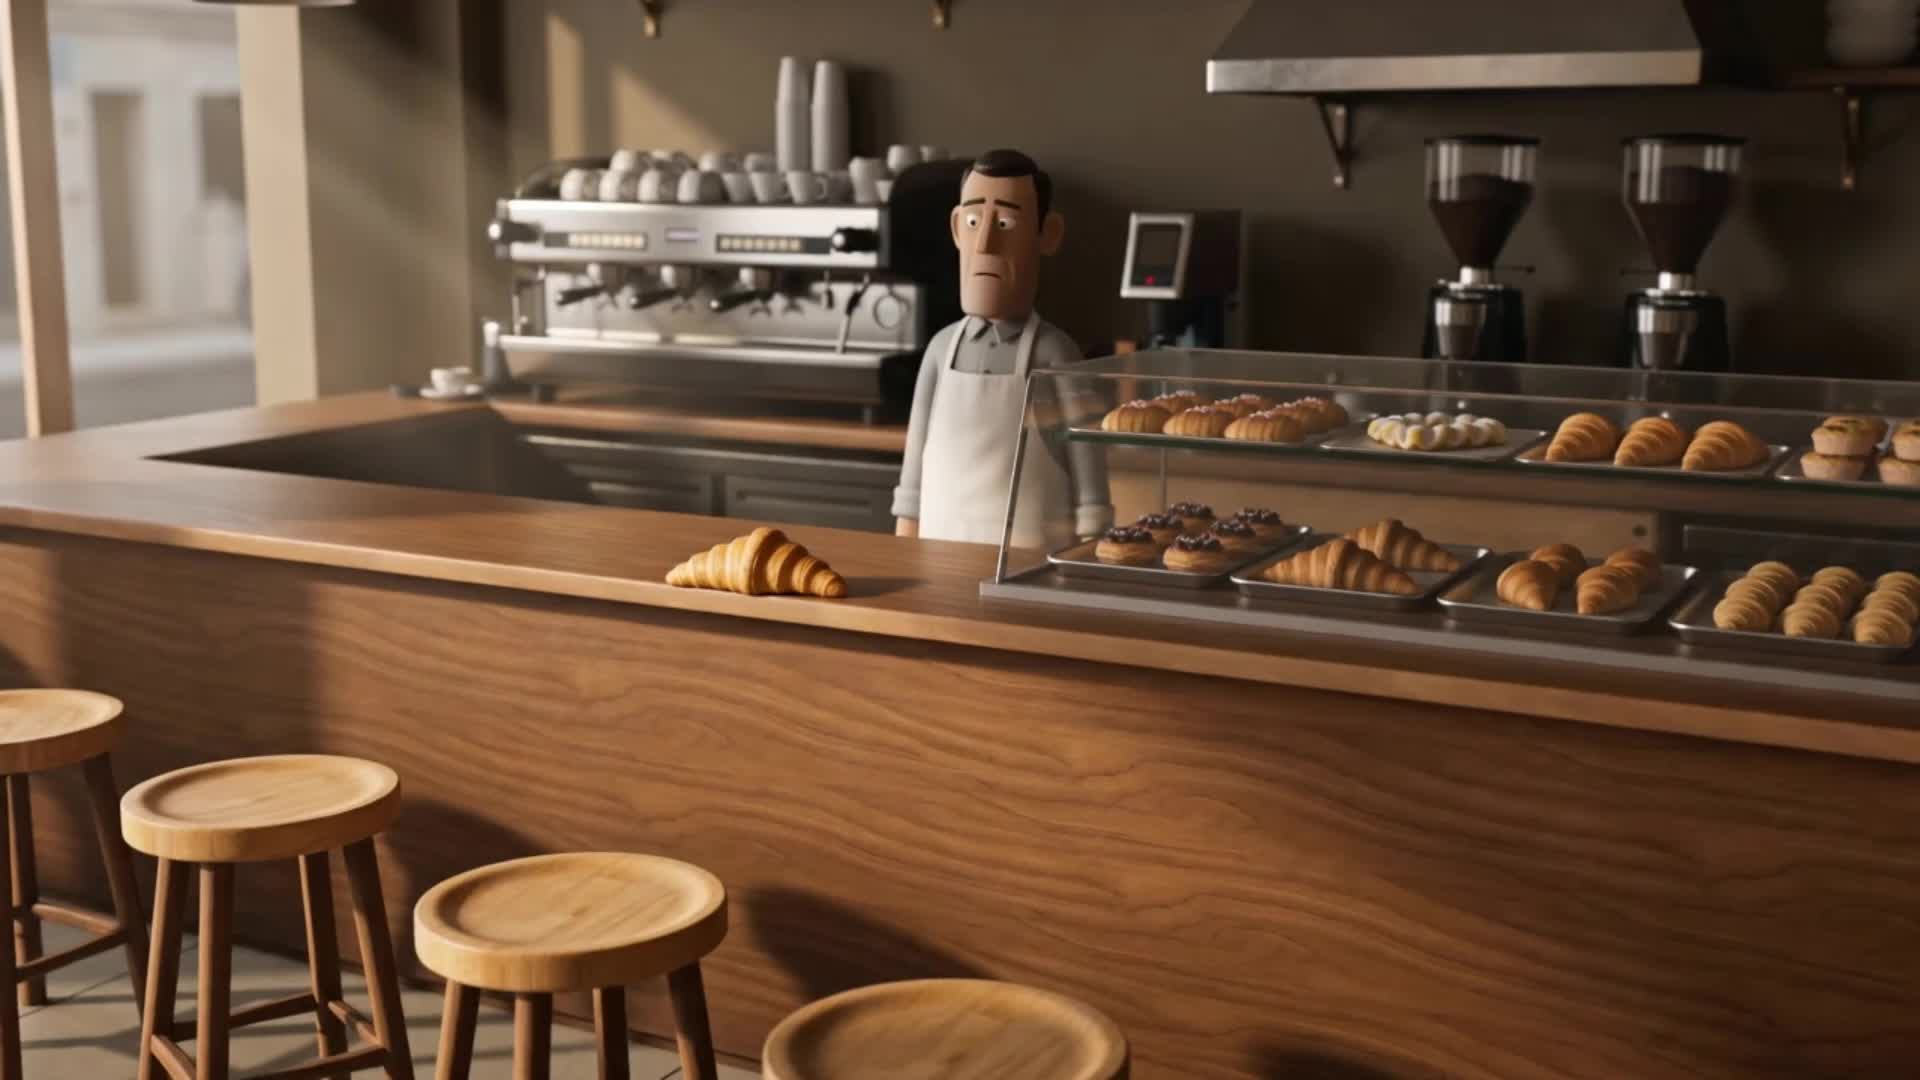
Use my source clip to continue the story. Extract its actual final frame and pass that image as the next video’s explicit first-frame input. Keep the same character, pose, setting, framing and lighting at the opening, then continue the action: the croissant slides farther across the counter while the baker watches. Generate one continuation, import it and place it immediately after the original clip with no gap. Review the join before exporting. Do not replace this with a text-only generation.
Tell Yukie how the scene should feel. It can call a connected audio model to create music, import the result and place it underneath your video. Keep the music on its own track so you can adjust it independently.
Eleven Music V2 · A 16-second instrumental comedy request using pizzicato strings, bassoon and soft woodblock. The original video appears once above; this section focuses on the new audio track and how it sits inside the editor.
Generate a playful instrumental comedy cue for this 16-second video using a connected audio model. Use pizzicato strings, bassoon and soft woodblock; no voices or lyrics. Import the generated audio and place it on a separate music track from 00:00, trimmed to the sequence length. Mute the video clips’ original audio so I can hear the new music clearly. Keep the video order and the join unchanged.
Not every look needs to wait for a preset. Start with a bread video, describe the feeling you want and let Yukie shape a custom effect around it. Keep the action, framing and story recognizable while you explore a warmer, softer bakery look.
A custom effect preview with warmer highlights, softer contrast and a gentle golden bakery glow.
Create a custom effect for this bread video. Give the bakery a warm, welcoming golden glow with softer highlights, gentle contrast, cozy amber midtones and subtle window-light bloom. Keep the baker, pastries, camera movement, timing, framing and story unchanged. Make it feel like a quiet morning bakery scene. Show the result in the Video Editor timeline so I can review the effect before export.
Get to know the workspace, Yukie’s role and where to check the details for your project.
GlobalGPT Video Editor is a workspace for editing existing footage. It brings a visual timeline, a video preview and the Yukie AI sidebar together for cuts, transitions, audio, style adjustments and more.
Yukie is the AI agent beside your editing workspace. Tell Yukie what you want to change and review the result. The demonstration on this page shows an auto-edit request followed by changes to the preview and timeline.
Yes. Open Import in the Assets panel. Choose Upload from device for local files, or Choose from assets to select material you have already generated in GlobalGPT. Either source can be the starting point for your edit.
Yes. Describe the look you want to Yukie, such as a warmer bakery glow, softer highlights or a different visual mood. Review the preview and timeline before exporting, and say what should stay unchanged when you want the story to remain recognizable.
Name the clip or moment, explain the change and say what should stay. Review the result before giving your next instruction. For example, point to the opening when you want to change how the video begins.
Check the available settings and any cost shown in your GlobalGPT workspace for the task you are about to run. Review your export options there before finishing your video.
Open GlobalGPT, find Video Editor on your Home screen and start with one thing you want to change.
Open Video Editor